A 40 °C GC run on a clean method threw a 2.1-minute peak at 0.8 ppm on a client’s FID, and it showed up in every blank. The method had been validated six weeks earlier. The autosampler had not changed. What changed was a lot of blue silicone/PTFE septa, and the ghost peak was a siloxane fragment the column had been re-concentrating on every injection. Ghost peaks from vial septa are not a mystery once you learn to read the bleed pattern, and the extractables profile of a septum is a fingerprint you can match to a material, a cure chemistry, and a temperature.
This is a troubleshooting piece. It assumes you already know what a septum is and that you are chasing a peak that should not be there. If you are still selecting a product, the general catalog at vialsepta.com is where to start. Here I want to talk about what comes off the rubber, when it comes off, and how to prove it.
Ghost peaks from septa have a recognizable shape: siloxanes, sulfur, and plasticizer ladders
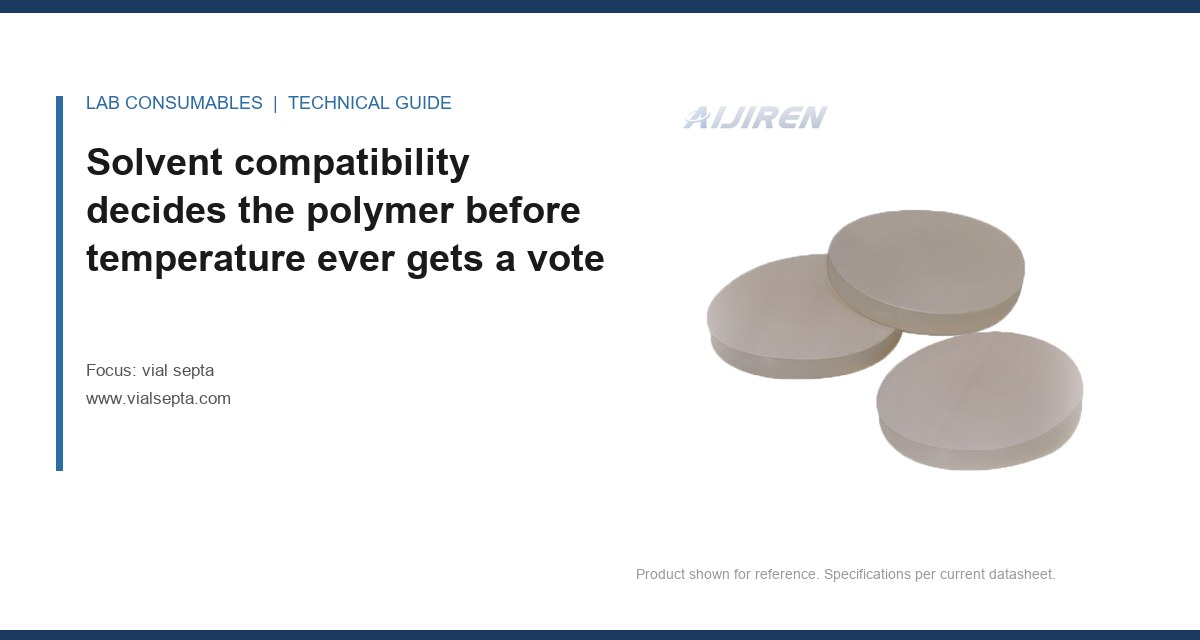
Every septum is a compounded elastomer. Silicone, chlorobutyl, bromobutyl, EPDM, and the PTFE film laminated to the sample side all contain additives: curing agents, accelerators, antioxidants, plasticizers, and residual monomers. Under heat and solvent contact, those migrate into the headspace or the sample and end up on the column. The resulting chromatogram is not random. It has structure.
Silicone septa bleed cyclic siloxanes. You will see a homologous series at m/z 73, 147, 207, 221, 281, and 341 by GC-MS, spaced by 74 Da, with D3 through D10 eluting in a predictable ladder. On an FID the pattern is a cluster of small peaks between the solvent front and your first analyte. Chlorobutyl septa bleed a different set: sulfur-containing fragments from the thiuram and mercaptobenzothiazole cure system, plus low-level chlorinated species. EPDM bleeds its peroxide cure byproducts and process oils.
The PTFE film is not innocent either. Sintered PTFE carries residual perfluorinated processing aids, and low-molecular-weight fluorocarbons will show up if the film is thin (below about 0.05 mm) or if the septum is used above its service temperature. I have seen 0.13 mm films hold at 200 °C for a 20-minute headspace cycle without measurable fluorocarbon release, and I have seen 0.05 mm films fail at 150 °C.
The practical point: if your ghost peaks form a ladder, suspect silicone. If they smell of rubber and carry sulfur, suspect a halobutyl cure system. If they are a single early-eluting plasticizer hump, suspect a cheap EPDM or a non-pharmaceutical-grade silicone loaded with phthalate or adipate plasticizer.
Which material bleeds what, and at what temperature the bleed becomes visible
Bleed is a rate, not a binary. Every septum releases something at every temperature. The question is whether the release is above your limit of detection after the sample has been in contact. Here is the working table I use when a client reports contamination and I need to narrow the material before I ask for the lot number.
| Septa material | Dominant extractables | Onset temperature where bleed becomes routine | Typical service ceiling | Notes |
|---|---|---|---|---|
| Silicone (medical/pharma grade, platinum-cured) | Cyclic siloxanes D3–D10, low-molecular silanols | ~120 °C headspace; ~80 °C in direct solvent contact | 200 °C short cycle, 180 °C continuous | Platinum cure reduces but does not eliminate siloxane; peroxide cure is worse |
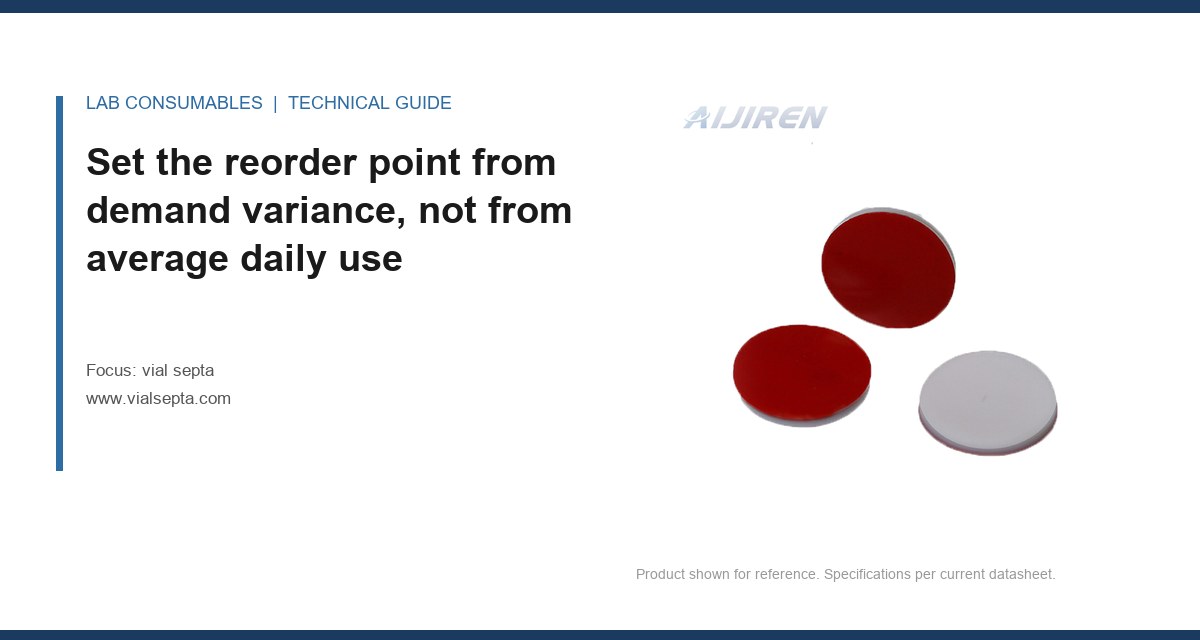
| Silicone/PTFE laminated | Siloxanes (edge and puncture path only), fluorocarbons from film | Film holds to ~200 °C; edge ingress begins ~150 °C | 200 °C | PTFE must be sample-facing; a reversed laminate is a common factory error |
| Chlorobutyl | Sulfur fragments (CS2, thiols), chlorinated species, cure accelerators | ~100 °C | 120 °C | Cheap, good reseal, poor for sulfur-sensitive analytes |
| Bromobutyl | Brominated fragments, sulfur cure residues | ~110 °C | 130 °C | Same sulfur problem as chlorobutyl |
| EPDM | Process oils, peroxide cure byproducts, plasticizers | ~90 °C | 135 °C | Good for aqueous samples; watch phthalate plasticizers |
| PTFE-faced silicone (thin film) | Fluorocarbon residuals, siloxane at puncture | Film < 0.05 mm fails ~150 °C | 180 °C | Puncture count above ~50 starts to open the silicone layer |
These onset numbers are working values from my own bench and from supplier data sheets, not absolutes. A 10 °C margin below the onset is what I specify. If your headspace oven runs at 140 °C and you are using chlorobutyl, you are 40 °C above the onset and you will see sulfur peaks in every blank.
Isolating the source with blank and placebo injections: the sequence that actually proves it
Most labs run one blank and call it done. That is not enough. A single blank tells you a peak exists. It does not tell you whether it came from the septum, the vial, the solvent, the needle, or the inlet liner. You need a bracketed sequence that varies one component at a time. Here is the sequence I run, in order, and what each step rules out.
Step 1: system blank, no vial
Inject the same volume of solvent directly from a sealed ampoule with no vial in the tray, or bypass the autosampler entirely with a manual injection. Any peak here is column or inlet carryover, not the septum. If this blank is clean and the next one is not, the septum or vial is in play.
Step 2: solvent blank in a capped vial with a known-good septum
Use a septum from a lot you have already qualified, ideally a PTFE-faced silicone at a temperature at least 20 °C below its onset. If this blank is clean, the method and the inlet are clean. If it is dirty, stop and fix the inlet before you blame the septa.
Step 3: solvent blank in a capped vial with the suspect septum lot
Same solvent, same volume, same oven program. Any peak that appears here and not in step 2 is attributable to the septum. Run three replicates. The peak should be reproducible to within 15% RSD in area. If it is erratic, you may be seeing coring particulate rather than bleed.
Step 4: placebo injection
This is the step most labs skip and it is the one that matters most for regulated work. Prepare the placebo matrix exactly as the method specifies, including any heating, shaking, or derivatization, and inject it with both the suspect and the qualified septum. The difference between the two placebo chromatograms is the septum contribution to your sample result. If the placebo difference exceeds your method’s reporting limit for the analyte of interest, the septum is a method failure, not a nuisance.
Step 5: temperature stress
Take the suspect septum, cap a vial of clean solvent, and hold it at your method’s maximum temperature for the full cycle time. Compare to a room-temperature hold of the same duration. If the peak grows with temperature, it is thermal bleed. If it grows with time at constant temperature, it is diffusion-limited extraction and the septum is simply too permeable for that solvent.
Run this sequence once per lot on receipt, and again whenever a method starts showing new early-eluting peaks. It takes about 90 minutes and it will save you a week of arguing with a supplier. The relevant acceptance criteria are in USP <660> (containers) and, for environmental work, the QC clauses in U.S. EPA SW-846, which put the container in the method whether you like it or not.
Field case 1: the sulfur ladder that turned out to be a cure-system change
A contract lab running pesticide residues by GC-MS on a DB-5MS column started seeing three peaks at 4.2, 5.1, and 5.8 minutes in every method blank, each at about 0.3 to 0.6 ppb equivalent. The peaks were not in the calibration mix. They had not been there in the previous lot of septa.
The measurement that identified it: a full-scan injection of a septum extract in hexane, sonicated 30 minutes at 40 °C. The mass spectrum of the 5.1-minute peak matched 2-mercaptobenzothiazole, a thiazole accelerator used in sulfur-cured halobutyl. The supplier had switched from a bromobutyl compound to a chlorobutyl compound with a different accelerator package to meet a price target. Same part number, different cure chemistry.
The fix: the lab moved to a PTFE-faced silicone septum for that method, qualified a new lot with the five-step sequence above, and added a lot-release specification of no detectable thiazole at 1 ppb equivalent. The ghost peaks disappeared in the next blank. The lesson is that a septum part number does not lock the compound. Ask for the cure system in writing.
Field case 2: the siloxane ghost that was actually a puncture-path leak
A pharma QC lab running a headspace GC method at 130 °C for 30 minutes saw D4 and D5 siloxane peaks grow from about 0.1 ppm at injection 1 to 0.9 ppm by injection 60. The septum was a PTFE-faced silicone, which should have held. The film was intact on the sample side.
The measurement that identified it: they pulled the septum after 60 injections and looked at the puncture site under a 10x loupe. The film had a visible tear about 0.4 mm across, and the silicone underneath was exposed. The autosampler needle was a 23-gauge (0.64 mm OD) cone-point, and the septum was a 20 mm crimp with a 0.13 mm film. The needle was punching through the same spot on every injection because the tray was not indexing. Sixty punctures in one spot on a 0.13 mm film is a recipe for a tear.
The fix: two changes. They moved to a 9 mm screw-thread autosampler vial with a pre-slit PTFE/silicone septum for the headspace method, which spreads the puncture load and reseals better, and they added a tray-index check to the preventive maintenance schedule. The siloxane peaks dropped back to baseline by injection 5 of the next run. The lesson: PTFE film is a barrier only while it is continuous. A torn film is a silicone septum with extra steps.
What to specify on the purchase order so this does not happen again
Most contamination problems are procurement problems that show up in the chromatogram. The septum you buy is a specification, and if you do not write the specification, you get whatever the compounder ran that week. Here is what goes on my POs, and it is worth copying.
- Cure system: platinum-cured silicone only. Peroxide cure is not acceptable for trace analysis.
- PTFE film thickness: 0.13 mm minimum, sample-facing, with a written orientation check at incoming inspection.
- Extractables release test: sonicate 10 septa in 10 mL of the method solvent at 40 °C for 30 minutes, inject 1 µL, and require no peak above 1 ppb equivalent for the target analyte class.
- Lot traceability: compounder lot and cure date on the bag, not just the molding date.
- Puncture specification: 23-gauge needle, 50 punctures, no visible film tear at 10x.
- Temperature rating in writing: continuous service temperature and a 20 °C margin below the onset of measurable bleed.
For methods that run above 150 °C, or that use chlorinated solvents, I would not accept a halobutyl septum at all. Move to PTFE-faced silicone or a PTFE/silicone laminate from a supplier who will give you the extractables data. The major consumables vendors publish this. Agilent’s GC accessories catalog and Thermo Fisher’s sample handling range both list septa by temperature rating and application, and Restek’s technical library has application notes on septa bleed that are worth reading before you write your next method.
A troubleshooting checklist for the next time a blank goes dirty
When a blank develops peaks, work through this in order. It is faster than guessing and it produces a record you can show an auditor.
- Confirm the peak is in the blank, not the sample. Run a solvent-only injection with no vial in the tray. If the peak is there, the septum is not the source.
- Check the retention time against a siloxane ladder. D4 at m/z 281, D5 at 355, D6 at 429. If the spacing is 74 Da, you have silicone.
- Check the peak against the septum lot date. Did the peak appear when a new bag was opened? If yes, quarantine the lot and run the five-step sequence.
- Look at the puncture site under a loupe. A torn film or a cored hole is a mechanical path, not a bleed path, and the fix is different.
- Hold a vial at method temperature for the full cycle and re-inject. If the peak grows, it is thermal. If it is flat, it is a solvent-extraction problem and you need a different film.
- Run a placebo with both the suspect and a qualified septum. The difference is your septum contribution, and that number goes in the investigation file.
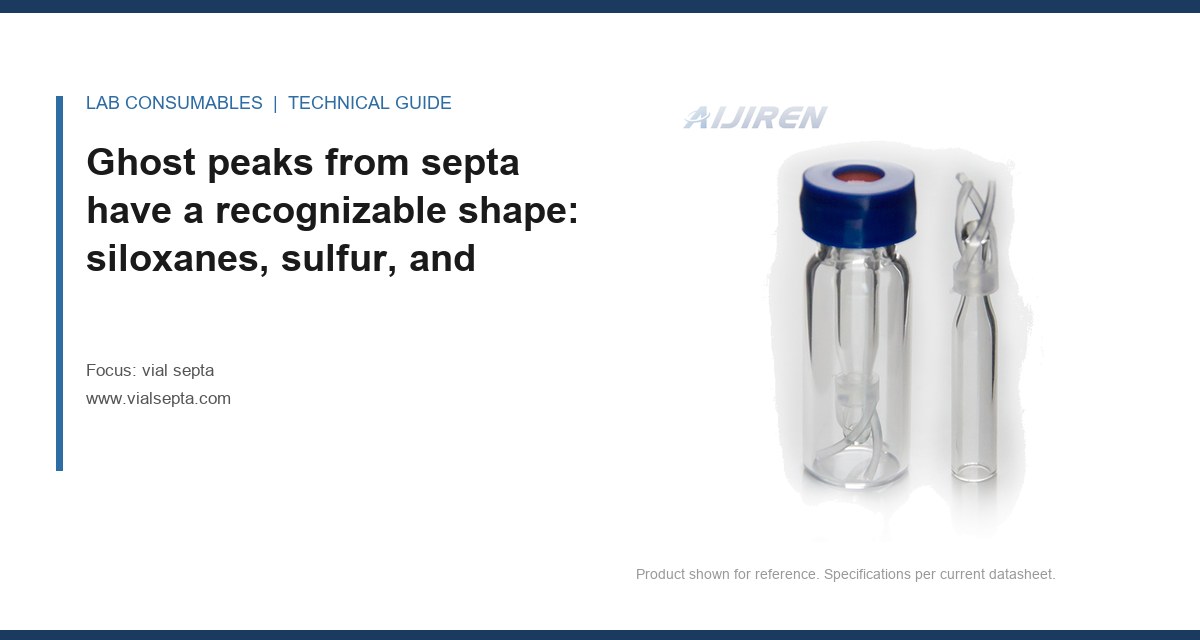
If you are also seeing peak shape problems, split peaks, or retention drift alongside the ghost peaks, check the HPLC vial and the inlet liner before you touch the septa. Ghost peaks from septa are early-eluting and reproducible. Peak shape problems are usually elsewhere. And if you are moving between vial formats, the vial and cap geometry matters for how the septum seats and how much of it is exposed to the headspace.
The decision rule: qualify the septum lot against the method, not against the catalog
Buy the septum that passes your method’s blank and placebo test at your method’s temperature, with a 20 °C margin, and re-qualify every lot on receipt with a 30-minute sonication extract and a 1 ppb equivalent limit. If a supplier cannot tell you the cure system and the film thickness in writing, they cannot help you troubleshoot a ghost peak, and you should not be buying from them. The septum is the smallest line item in the method and the one most likely to put a peak in your blank. Treat the lot release test as part of the method, not as paperwork, and the ghost peaks stop being a recurring mystery.
References & further reading
Related resources from our lab consumables network:
- Vial Septa at vialsepta.com
- Hplc Vial at hplcgc.com
- Autosampler Vial at autosamplerhplc.com
- Vial at vials-filters.com
External references and standards: