I still remember the first time a septa failure cost me a week. We were running a 96-position autosampler method on a stability study, and about 40 injections into a 200-vial sequence the results went sideways. Peak areas started drifting 6 to 8 percent RSD, retention times wandered, and two vials came back with coring debris visible under the magnifier. The culprit was a batch of cheap silicone-faced septa we had bought to save 11 cents a piece. The rework cost us roughly $4,200 in instrument time and a delayed release. I have been opinionated about septa selection ever since.
If you are a buyer, the septa decision usually lands in your lap as a line item on a consumables spreadsheet. If you are an operator, it lands on you at 11 pm when the autosampler jams. Both of you need the same thing: a septa that matches the vial, the instrument, the sample chemistry, and the temperature profile of the method. This guide walks through how to make that choice with numbers instead of vibes.
A septa is a thin elastomeric disc, usually between 0.9 mm and 3.0 mm thick, seated inside a screw cap or crimp seal. Its job is threefold: seal the vial from the atmosphere, allow the needle to penetrate with minimal resistance and minimal damage, and reseal itself after the needle withdraws so the sample does not evaporate or oxidize before the next injection.
That third job is where most people get burned. A septa that reseals poorly lets volatile analytes escape between sampling events. In a 24-vial tray sitting at ambient temperature for 8 hours, a septa with a poor reseal can lose 2 to 5 percent of a volatile analyte like methanol or dichloromethane through the puncture channel. That is not noise. That is a systematic bias that will fail your system suitability criteria.
The physical mechanism is straightforward. When the needle penetrates, it stretches and tears the elastomer along a microscopic path. When the needle withdraws, the elastomer’s elastic recovery closes that path. Materials with high elastic recovery (silicone, certain TEF/silicone laminates) reseal well. Materials with low recovery (harder butyls, cheap recycled silicone) leave a channel. The channel is invisible to the eye but real to the chromatograph.
The four material families you will actually encounter
Every septa you can buy is built from one of four material families, or a laminate of two of them. Know these before you talk to a supplier.
Silicone (usually with a PTFE face)
Pure silicone has excellent elastic recovery and a wide temperature range (-60 °C to +200 °C for standard grades, up to +250 °C for some high-temperature formulations). It is soft, which means low needle resistance and less coring. The downside is that silicone is highly permeable to gases and vapors. A bare silicone septa will let oxygen and moisture into a vial over days. That is why most silicone septa for HPLC and GC are laminated with a thin PTFE film (typically 0.05 mm to 0.13 mm) on the sample-facing side. The PTFE acts as a barrier; the silicone provides the reseal.
This is the workhorse septa for HPLC and GC autosamplers. It is what I specify for 90 percent of routine work.
PTFE-faced silicone (the standard workhorse)
This is a laminate: a thin PTFE disc bonded to a silicone core. The PTFE faces the sample, the silicone faces the cap. Temperature range is typically -40 °C to +200 °C. Puncture count before failure is usually 3 to 5 punctures per injection site for a single-hole cap, and up to 10 punctures if you are using a pre-slit septa and rotating injection positions. It is chemically inert to almost everything you will run, including acidic mobile phases, most organic solvents, and biological buffers.
If you are buying for a general analytical lab and you do not have a specific reason to choose otherwise, buy PTFE/silicone.
Butyl and bromobutyl rubber
Butyl has very low gas permeability, which makes it the go-to for headspace GC and for vials that need to hold a vacuum or an inert atmosphere for long periods. Temperature range is narrower (-40 °C to +120 °C). It is harder than silicone, so needle resistance is higher and coring is more of a risk with large-bore needles. Butyl is also more prone to swelling with certain nonpolar solvents (toluene, hexane). If you are running headspace GC per EPA SW-846 methods, butyl or a PTFE/butyl laminate is often the right call.
Natural rubber and EPDM
You will see these in pharmaceutical stopper applications and in some low-cost general-purpose caps. EPDM has good chemical resistance and a temperature range up to about +150 °C. Natural rubber is cheap and has good reseal but poor chemical resistance and a tendency to shed particles. I avoid natural rubber for anything going into an autosampler.
Matching septa to your vial and cap system
This is where buyers get tripped up. Septa are not universal. They are dimensioned to a specific cap and vial standard, and a 1 mm mismatch in diameter means a septa that either falls out during handling or buckles when you torque the cap.
The dimensional standards you need to know
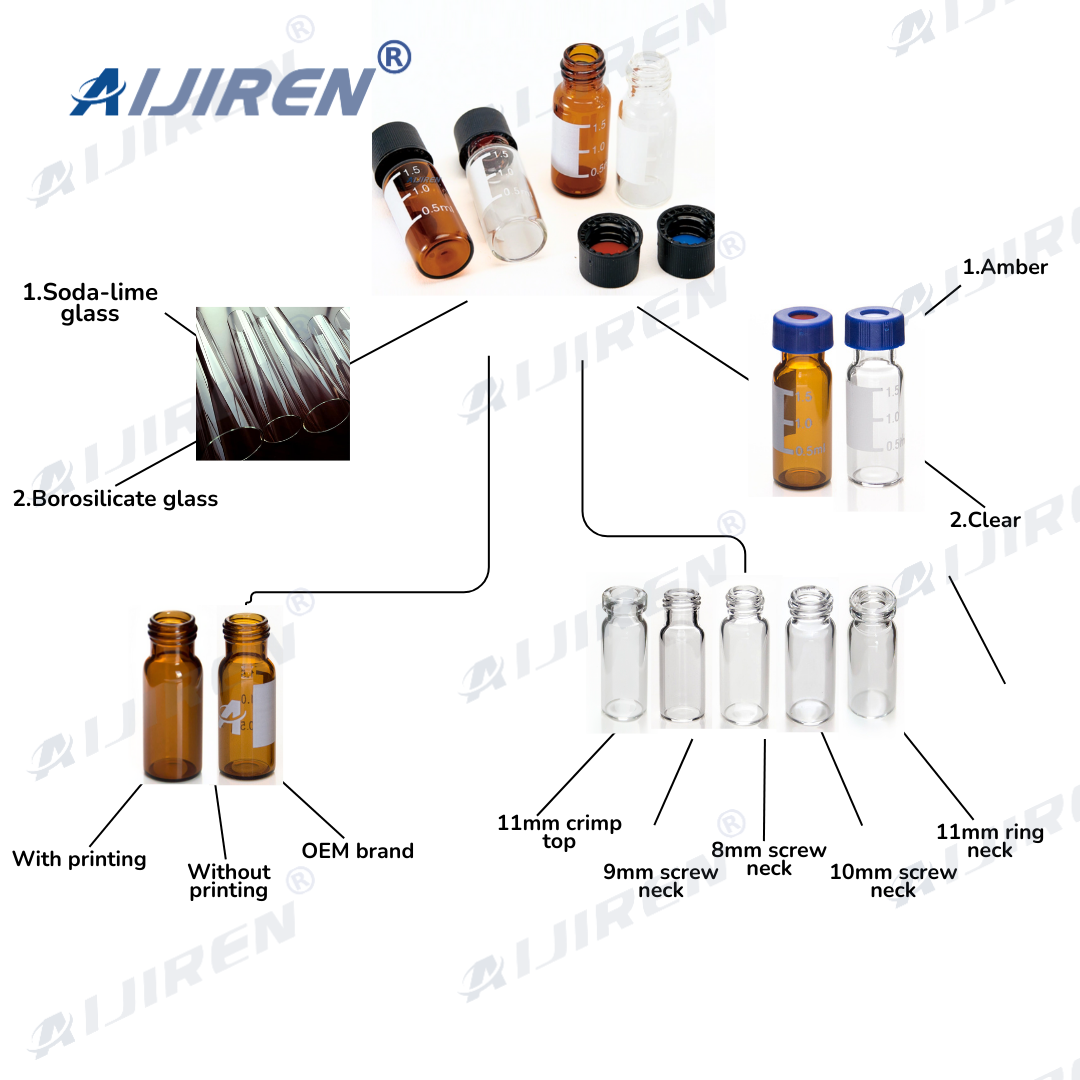
The two standards you will see on spec sheets are GPI 13-425 and GPI 8-425 for screw-thread vials, and the ISO 8362 series for crimp vials. GPI stands for Glass Packaging Institute, and the numbers refer to the thread finish. A 13-425 cap takes a septa of roughly 13 mm diameter. An 8-425 cap takes a septa of roughly 8 mm diameter. Crimp vials (11 mm and 20 mm) use septa matched to the aluminum seal diameter.
Get the diameter wrong and you get two failure modes. Too small: the septa drops into the vial neck and the cap does not seal. Too large: the septa bunches at the cap edge, creates a wrinkle channel, and you get evaporation loss. I have seen a lab lose 15 percent of a volatile standard over a weekend because someone loaded 9 mm septa into 8-425 caps.
Pre-slit vs. non-slit
A pre-slit septa has a small manufactured slit that guides the needle and reduces coring. This matters for autosamplers that use a 22-gauge or larger needle and for methods with many injections per vial. Pre-slit septa typically allow 10 to 15 punctures before reseal degrades, versus 3 to 5 for a non-slit septa. The tradeoff is slightly higher evaporation rate through the slit before the first puncture. For short sequences (under 12 hours), pre-slit is fine. For long stability holds, use non-slit and rotate.
Cap torque and septa compression
This is the most under-taught part of the whole workflow. A screw cap needs to be torqued to a consistent value or the septa compression varies from vial to vial. For 13-425 caps, the practical target is 0.8 to 1.2 N·m. For 8-425 caps, 0.4 to 0.6 N·m. Over-torque and you crush the septa (which causes coring and needle bending). Under-torque and you get leaks. A calibrated torque wrench or a motorized capper set to these values will do more for your RSD than any septa upgrade. I have measured RSD improvements of 1.5 to 2 percentage points just by standardizing cap torque across an operator team.
A decision checklist with numbers
Use this table to narrow the field before you request samples. Every row maps to a spec you should be able to state about your method.
- Temperature range: Method max temperature + 20 °C safety margin. If your GC inlet runs at 250 °C, do not buy a 200 °C-rated septa.
- Puncture count per vial: Count your injections per vial. If more than 3, specify pre-slit or plan to rotate injection positions.
- Needle gauge: 22-gauge and larger benefit from pre-slit. 26-gauge and smaller can use non-slit with less coring risk.
- Chemical compatibility: Check the septa against your mobile phase and sample solvent. PTFE-faced silicone covers most; butyl for headspace; avoid natural rubber for anything polar.
- Seal duration: If vials sit in a tray more than 12 hours, use non-slit PTFE/silicone and cap to torque spec.
- Vial standard: Confirm GPI 13-425, GPI 8-425, 11 mm crimp, or 20 mm crimp. Match septa diameter to cap, not to vial.
- Certification: For regulated work, require a certificate of analysis with lot traceability and, where relevant, a USP <381> elastomer compliance statement.
- Cost per injection: Divide septa cost by the puncture count you actually get. A 22-cent septa that lasts 4 punctures costs 5.5 cents per injection. A 14-cent septa that lasts 2 costs 7 cents. The cheap one is not cheap.
Operational precautions that prevent most failures
I have audited enough labs to say that the majority of septa-related problems are operator problems, not product problems. Here is what actually matters on the bench.
Handling and storage
Septa are porous to some degree and will absorb ambient vapors. Store them in the original sealed bag, away from solvent cabinets. Do not open a bag and leave it open for a week. I have seen labs store septa in the same cabinet as their toluene wash bottles and then wonder why their blanks had toluene peaks.
Do not handle septa with bare fingers if you are running trace analysis. Use powder-free nitrile gloves or forceps. Finger oils will show up as phthalate or fatty acid peaks in GC-MS.
Capping practice
Cap in a consistent orientation. Use a capper that applies torque to the cap, not to the vial body. Check torque monthly with a calibration wrench. Train every operator to the same value. This is boring and it is the single highest-leverage change most labs can make.
Needle care
Bent needles coring septa is a self-reinforcing failure. A bent needle tears a bigger channel, which lets more sample escape, which makes the operator re-run the vial, which means more punctures, which means more coring. Inspect needles weekly under magnification. Replace at the first sign of a burr.
Vial and cap compatibility
Do not mix cap brands with vial brands unless you have verified the thread finish. A 13-425 cap from one supplier is nominally interchangeable with another, but the thread pitch and the cap height vary by a few tenths of a millimeter. That variance changes septa compression. Buy caps and septa from the same supplier as a matched set when you can. The vial and cap interface is a system, not a collection of parts.
Common failure modes and how to diagnose them
Here is a troubleshooting checklist I keep on the wall. Match the symptom to the likely cause before you replace anything.
- Peak area drift upward: Likely evaporation of sample through a poor reseal (concentrating the analyte). Check septa reseal and cap torque.
- Peak area drift downward: Likely adsorption onto a reactive septa or sample loss through a channel. Check septa material compatibility and puncture count.
- Ghost peaks in blanks: Likely septa off-gassing or contamination from storage. Bake new septa at 100 °C for 30 minutes before use if your method is sensitive, and store sealed.
- Coring debris in the vial: Needle too large for the septa, or too many punctures, or over-torqued cap. Switch to pre-slit and reduce punctures per vial.
- Retention time shift: Likely a leak at the cap-septa interface. Verify torque and septa diameter.
- Needle bending or autosampler jam: Septa too hard (butyl in a soft-septa application) or cap mis-threaded. Check septa durometer and cap seating.
- RSD above 2 percent on replicate injections: Standardize cap torque and septa lot before you blame the instrument. This is the first thing I check.
Buying considerations: what to put in the spec sheet
When you write a purchase specification, be specific. Suppliers will meet the spec you write, so write a good one. Here is what I put in mine.
- Material: PTFE-faced silicone, 0.13 mm PTFE, 1.5 mm total thickness (or your chosen values).
- Dimensions: Diameter to match GPI 13-425 (nominal 13 mm) or GPI 8-425 (nominal 8 mm), with a stated tolerance of ±0.2 mm.
- Temperature rating: Stated continuous use range and a short-exposure maximum.
- Durometer: Shore A hardness, typically 45 to 55 for autosampler septa.
- Puncture rating: Stated punctures before reseal failure, tested per a defined method.
- Certification: Certificate of analysis per lot, USP <381> statement where relevant, and lot traceability.
- Packaging: Individually sealed bags, desiccant where appropriate, and a stated shelf life (typically 2 to 3 years from manufacture for silicone).
Ask for samples and run them against your own method before you commit to a case quantity. A septa that passes the supplier’s test may still fail your specific method. I always run a 50-injection side-by-side before I change a septa supplier on a validated method.
Where to source and what to cross-reference
For instrument-specific septa, the manufacturer’s own catalog is the reference. Agilent publishes septa specs for their 5183 and 5182 series caps and vials, and their autosampler documentation lists the recommended septa by instrument model. Thermo Fisher does the same for their autosampler and GC inlet septa. Restek publishes useful application notes on septa selection for headspace and GC, including bleed profiles by material.
For the vial and cap side of the equation, our own vial septa catalog lists septa by material, dimension, and cap standard, and the autosampler vial reference covers cap and septa pairings by instrument. Cross-reference the septa part number against the cap part number before you order. A 13-425 septa from one supplier is not always dimensionally identical to a 13-425 septa from another, and the difference shows up as a leak at the worst possible moment.
A concrete recommendation by workflow
If you want a starting point, here is what I specify for four common workflows. Adjust to your method, but start here.
Routine HPLC with UV detection, ambient to 40 °C
PTFE-faced silicone, 13 mm diameter, 1.5 mm thick, non-slit, GPI 13-425 cap, torqued to 1.0 N·m. Replace vials after 3 punctures. This covers the majority of pharmaceutical and environmental HPLC work.
GC with split/splitless inlet, inlet up to 250 °C
PTFE-faced silicone rated to +250 °C, 11 mm crimp or 13-425 screw depending on your autosampler, pre-slit if your needle is 22-gauge or larger. Replace every 5 to 10 punctures. For headspace, switch to PTFE/butyl laminate.
Headspace GC per EPA SW-846
PTFE/butyl laminate, 20 mm crimp, non-slit, rated to +120 °C. Crimp to the seal manufacturer’s specified crimp force (typically 1.5 to 2.0 kN for 20 mm aluminum seals). Verify seal integrity with a pressure decay test on a sample of vials each lot.
Trace analysis (GC-MS, LC-MS) at low ppb
PTFE-faced silicone, pre-cleaned and individually bagged, with a lot-specific certificate of analysis. Bake at 100 °C for 30 minutes before use. Handle with gloves and forceps. Store sealed with desiccant. Replace every 2 to 3 punctures and run a method blank every 20 injections to catch contamination early.
Takeaway
Septa selection is not a commodity decision, even though it looks like one on the purchase order. The material determines reseal, the dimensions determine fit, the cap torque determines compression, and the puncture count determines how often you have to re-run a vial. Get those four right and you will spend far less time chasing RSD drift and far more time running samples. Buy to a written spec, run a side-by-side before you switch suppliers, and standardize cap torque across your team. That is the whole game.