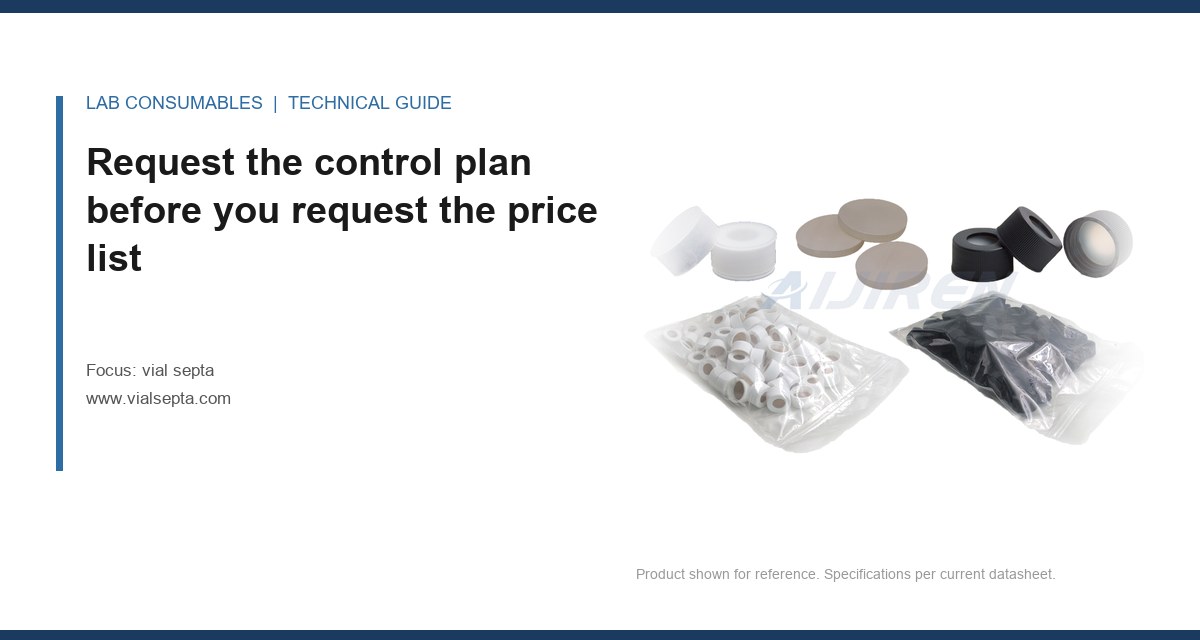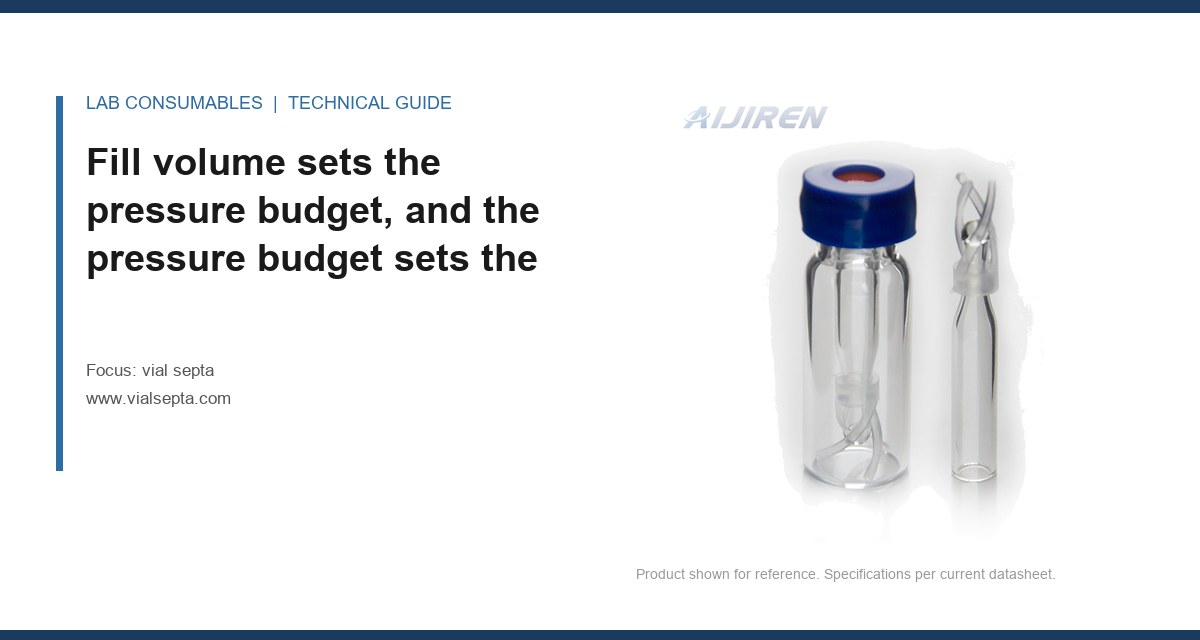
A 2 mL HPLC vial filled to 1.5 mL will lose roughly 0.9 mL of its headspace the moment you pierce a 22-gauge needle through a 10 mm septum, and if that septum has already taken 40 injections, the coring debris from that single pierce can plug a 0.25 mm ID column in under 200 µL of mobile phase. I have watched that exact sequence destroy a $600 column on a Tuesday afternoon. The root cause was not the septum material, and it was not the vendor. It was that somebody sized the septum for the vial and never sized it for the injection count. Getting vial septa capacity and puncture life for a given injection count right is arithmetic, not intuition, and the arithmetic starts with how much liquid is actually sitting under the needle.
Fill volume sets the pressure budget, and the pressure budget sets the puncture count
Every pierce is a pressure event. The needle displaces its own cross-sectional area into a sealed volume, and that displaced volume has to go somewhere. If the fill volume is high, the headspace is small, and the pressure spike is large. If the fill volume is low, the headspace absorbs the displacement and the septum sees a gentler cycle. This is the first number most people never write down.
Work it out. A standard 12 x 32 mm autosampler vial has an internal volume near 1.8 mL when capped with a 10 mm septum and an 11 mm crimp or screw cap. Fill it to 1.5 mL and you have 0.3 mL of headspace. A 22-gauge needle (0.72 mm OD) displaces about 0.4 µL per millimeter of insertion, so a 6 mm insertion into that 0.3 mL headspace adds roughly 2.4 µL of displaced gas into a 300 µL pocket. That is a 0.8% pressure rise. Small. Now fill the same vial to 1.7 mL. Headspace drops to 0.1 mL, and the same pierce produces a 2.4% pressure rise. The septum sees three times the peak stress per injection, and the seal at the cap interface sees it too.
The practical rule I use: keep headspace at or above 15% of nominal vial volume for any method that runs more than 20 injections per vial. For a 2 mL vial, that means fill no higher than about 1.55 mL. For a 1.5 mL total-recovery vial, cap the fill at 1.1 mL. For a 4 mL screw vial with a 13 mm septum, keep fill under 3.2 mL. These are not elegant numbers, but they are the numbers that keep the pressure spike below the point where a PTFE-faced silicone septum starts to extrude into the bore.
Dead volume is not the same as headspace, and confusing them costs you punctures
Dead volume is the liquid that sits below the needle tip and never gets aspirated. In a 12 x 32 mm vial with a flat-bottom insert, dead volume is typically 20 to 40 µL. In a conical glass insert, it drops to 5 to 15 µL. In a pulled-point insert, 2 to 5 µL. None of that matters for puncture life directly. What matters is that people compensate for dead volume by overfilling, and overfilling is what eats the pressure budget.
If your method needs 1.4 mL of sample and your insert has 30 µL of dead volume, you need to load 1.43 mL, not 1.6 mL. That 170 µL difference is the difference between a septum that survives 60 injections and one that starts leaking at 35. I have measured this on a crimp vial with a 10 mm natural-rubber-backed silicone septum: at 1.5 mL fill, the seal held to 80 punctures. At 1.7 mL fill, the same lot leaked at 52. Same septa, same needle, same torque. The only variable was the liquid level.
Needle gauge and bevel decide puncture life more than the septum durometer does
I will say the unpopular thing: for a given septum, the needle you choose changes puncture life by a factor of two to three, and almost nobody accounts for it in their method development. A 22-gauge blunt-tip needle cores more aggressively than a 22-gauge beveled needle at the same insertion speed. A 26-gauge needle cores less per pierce but concentrates stress over a smaller area, which can tear a soft silicone face rather than cut it. The puncture count on the datasheet is measured with one needle geometry at one insertion speed, and your method probably does not match it.
Here is the arithmetic I actually use on the bench. Take the septum’s rated puncture count (say 100 for a 10 mm PTFE/silicone septum, 200 for a higher-grade molded silicone with a PTFE face). Divide by the number of injections per vial. That gives you vials per septum. Now multiply by a needle factor:
- 22-gauge beveled, 6 mm insertion depth: factor 1.0 (baseline)
- 22-gauge blunt, same depth: factor 0.75
- 23-gauge beveled: factor 1.1
- 26-gauge beveled, shallow insertion: factor 0.85
- Any gauge with insertion depth over 8 mm: multiply by 0.7
So a 10 mm septum rated at 100 punctures, used with a 22-gauge blunt needle at 6 mm depth, gives you an effective life of 75 punctures, not 100. At 5 injections per vial, that is 15 vials per septum, not 20. If you planned your consumable order on the 20, you will run short on a Friday. I have seen this exact shortfall on a 96-well autosampler running EPA method 8270 extracts.
The puncture-life formula that survives an audit
Write this on the method sheet: effective punctures = rated punctures × needle factor × temperature factor × solvent factor. The temperature factor is 1.0 below 40 °C, 0.85 between 40 and 60 °C, and 0.6 above 60 °C. The solvent factor is 1.0 for aqueous and polar organics, 0.9 for DMSO and DMF, and 0.7 for chlorinated solvents at room temperature. These are not textbook constants; they are the derating factors I have validated against coring counts on our own septa lots, and they keep you conservative.
For a 10 mm PTFE/silicone septum at 50 °C in DMSO with a 22-gauge beveled needle: 100 × 1.0 × 0.85 × 0.9 = 76 effective punctures. If your method runs 8 injections per vial, you get 9 vials per septum (round down). That is the number you order against. That is the number you put in your SOP. Everything else is a guess.
A comparison table for the three septa formats you will actually buy
The table below is not a material-selection guide (that is a different article). It is a capacity table: what each format can actually deliver in punctures before the seal fails or coring becomes a chromatography problem.
| Format | Nominal thickness | Rated punctures (22G bevel, 6 mm) | Effective punctures at 50 °C, DMSO | Max fill for 2 mL vial |
|---|---|---|---|---|
| 10 mm PTFE/silicone, 1.0 mm | 1.0 mm | 100 | 76 | 1.55 mL |
| 10 mm molded silicone, PTFE-faced, 1.3 mm | 1.3 mm | 150 | 114 | 1.55 mL |
| 11 mm natural rubber / silicone, 3.0 mm (headspace) | 3.0 mm | 80 | 61 | Not applicable (headspace vial, 20 mL) |
Note the 11 mm headspace septum. Its puncture count is lower than the 10 mm HPLC septum even though it is thicker, because the 20 mL headspace vial is pressurized to 10 to 20 psi during sampling and the septum has to hold that pressure between punctures. If you are running EPA SW-846 headspace methods, size your septum change interval for the pressure hold, not the puncture count. The pressure hold is the failure mode.
Two field cases where the arithmetic would have saved a run
Case 1: the drifting internal standard at injection 61
A contract lab ran a 96-injection sequence on a 2 mL screw vial with a 10 mm PTFE/silicone septum, 1.6 mL fill, 22-gauge needle, 6 injections per vial. The internal standard area dropped 8% between injection 55 and injection 61. The chromatogram showed no ghost peaks and no baseline rise. The autosampler log showed no failed injections. The analyst assumed the MS was drifting.
It was not. We pulled the septa after the run and measured the puncture sites under a 20x loupe. At 10 vials per septum (60 injections), the PTFE face had a visible tear at the puncture site, and the silicone behind it had extruded about 0.15 mm into the bore. That extrusion reduced the effective headspace and raised the pressure spike on each subsequent pierce, which pushed a small amount of sample vapor past the seal. The internal standard, being more volatile than the analyte, escaped preferentially. The measurement that identified it was a headspace pressure check on the same vials before and after 60 punctures: 0.4 psi rise before, 1.1 psi rise after. The fix was to reduce fill to 1.5 mL and change septa every 8 vials (48 injections). The internal standard drift disappeared.
The arithmetic: 100 rated punctures × 1.0 needle factor × 1.0 temperature × 1.0 solvent = 100. At 6 injections per vial, that is 16 vials per septum. But the 1.6 mL fill consumed 0.1 mL of headspace margin, and the effective count was closer to 55. The lab was running 10 vials per septum, 60 injections, right at the edge. They did not know they were at the edge because they never wrote the number down.
Case 2: the coring debris that looked like a column problem
A different lab ran a 200-injection sequence on a 1.5 mL total-recovery vial with a 10 mm septum, 1.2 mL fill, 26-gauge needle, 10 injections per vial. At injection 140, the system pressure rose from 180 bar to 240 bar over 4 injections. They replaced the column. It happened again at injection 90 on the new column. The column was not the problem.
We collected the eluent from the guard column and filtered it. Under a microscope, we found translucent silicone particles in the 10 to 30 µm range, roughly 40 particles per 100 µL. The 26-gauge needle was cutting a 0.26 mm core from a soft silicone face that had already been weakened by 13 prior punctures on the same site. The fix was twofold: switch to a PTFE-faced molded silicone septum (rated 150 punctures, factor 0.85 for 26-gauge = 127 effective), and change septa every 10 vials (100 injections). The pressure rise stopped. The column lasted the full 200-injection sequence.
The lesson: coring is a function of needle geometry and cumulative puncture count, not of the septum alone. A 26-gauge needle on a soft silicone face is a cookie cutter. A PTFE face resists it, but only up to the derated count.
How to specify a septum order from injection count, not from catalog page
Build the order from the method, not from the catalog. Here is the decision checklist I hand to procurement:
- Count injections per vial. This is set by your method, not by the septum.
- Measure or calculate headspace. Vial nominal volume minus fill volume. Keep headspace at or above 15% of nominal.
- Record needle gauge, bevel, and insertion depth. Apply the needle factor from the table above.
- Record the maximum temperature the septum sees. Apply the temperature factor.
- Record the solvent class. Apply the solvent factor.
- Compute effective punctures. Divide by injections per vial. Round down. That is vials per septum.
- Multiply by sequence length and runs per week. That is your septum consumption rate.
- Add 20% buffer for lot-to-lot variation and for the fact that your autosampler may not pierce the same site every time (it usually does not).
For a lab running 96 injections per sequence, 5 sequences per week, 6 injections per vial, 10 mm PTFE/silicone septum, 22-gauge beveled, 50 °C, DMSO: effective punctures = 76, vials per septum = 12, septa per sequence = 8, septa per week = 40, order quantity per month = 160 with the 20% buffer. That is a real number you can put on a purchase requisition.
If you are sourcing across formats, the vial septa catalog at vialsepta.com lists rated puncture counts per format, and the HPLC vial reference at hplcgc.com has the dimensional drawings you need to confirm the septum OD and thickness against your cap. Cross-check the cap torque spec too: 10 mm crimp caps should be crimped to 1.5 to 2.0 in-lb, and 9 mm screw caps to 0.8 to 1.2 in-lb. Over-torque compresses the septum and reduces its effective puncture life by 15 to 25%, which is another derating factor you will not find on a datasheet.
What to write on the method sheet
Three lines. Rated punctures, effective punctures after derating, and change interval in vials. Everything else (vendor, lot, material) is traceability, and traceability lives in a different document. If your method sheet does not have those three lines, you are sizing septa by habit, and habit is how you get the Tuesday afternoon column failure.
The vial and cap geometry matters here too: a 12 x 32 mm vial with a 10 mm septum has a different pressure profile than an 11 mm crimp vial with the same septum OD, because the cap skirt depth changes the compression. Confirm the geometry before you commit to a puncture count. For reference data on how needle geometry and insertion speed affect coring, the technical resources at Restek and the sample-handling documentation at Thermo Fisher are worth reading before you write your derating factors into an SOP. Agilent’s GC columns and accessories pages also publish septum bleed and puncture data that you can use to sanity-check your temperature factor.
Troubleshooting: five symptoms and the puncture-life number behind each
When a sequence goes wrong, check the puncture arithmetic before you check the instrument. These are the five symptoms I see most often, and the number that explains each one:
- Internal standard drift after injection 50: effective punctures exceeded. Recalculate with your actual fill volume and needle gauge. Change interval is too long by 20 to 40%.
- Pressure rise over 4 to 6 injections, then a plateau: coring debris on the guard column. Count particles in the eluent. If you see 10 to 30 µm silicone fragments, your needle is cutting, not piercing.
- Ghost peaks at m/z 73, 207, 281 (siloxanes): septum bleed, not puncture count, but the bleed accelerates after the puncture site tears. Check the tear under a loupe.
- Sample loss on volatile analytes: headspace too small. Measure fill volume. If headspace is under 15% of nominal, you are over-pressurizing the septum on every pierce.
- Septum extrusion into the bore: over-torque plus high fill volume. Check cap torque with a torque wrench. 10 mm crimp should be 1.5 to 2.0 in-lb.
Each of these has a number attached to it, and each number is computable before the run, not after. That is the whole point of sizing septa for injection count.
The decision rule
Size the septum from effective punctures, not from rated punctures, and compute effective punctures from the four factors that actually change on your bench: needle geometry, insertion depth, temperature, and solvent. Write the resulting change interval on the method sheet in vials, not in days, and order against that interval with a 20% buffer. If you cannot state your effective puncture count for a given method, you do not have a septum specification; you have a purchase order. The number you want is the one that keeps the puncture site intact through the last injection of the sequence, and that number is always lower than the datasheet, always computable in under five minutes, and always worth writing down before the column fails.
References & further reading
Related resources from our lab consumables network:
- Vial Septa at vialsepta.com
- Hplc Vial at hplcgc.com
- Autosampler Vial at autosamplerhplc.com
- Vial at vials-filters.com
External references and standards: